
Library
How to Measure Staff Uniforms for a Better Fit
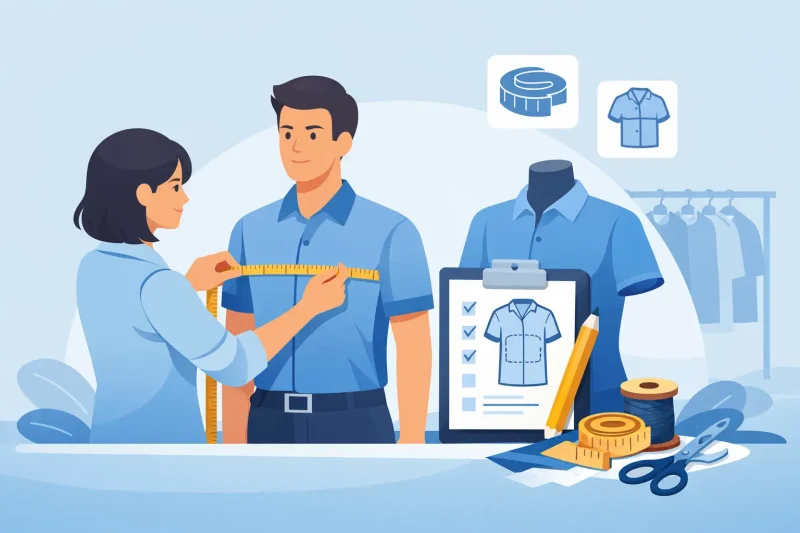
Jul
A uniform that looks sharp in a product photo can quickly become a costly problem when sleeves are too short, trousers drag on the floor or staff feel restricted through a full shift. Knowing how to measure staff uniforms properly helps avoid unnecessary exchanges, protects your budget and gives every member of the team a more professional, comfortable appearance.
For organisations ordering across several departments, sizing is not a minor administrative task. It affects staff confidence, safety, productivity and the consistency of your brand. A practical measuring process also makes repeat orders much simpler, particularly when new starters join or seasonal teams need kitting out quickly.
Start with the garment, not the label
A medium in one garment range is not always the same as a medium in another. Fits vary between business shirts, chef jackets, tunics, hi-vis coats, polo shirts and work trousers. Some products are designed as a tailored fit, while others allow extra room for layering, movement or protective equipment.
Before collecting measurements, decide exactly which garments each role requires. A receptionist may need a fitted blouse and smart cardigan, while a warehouse operative may need a breathable polo, cargo trousers and a waterproof outer layer. Measuring people for a garment that has not yet been selected often creates confusion, because the required ease and fit will be different.
Use the relevant garment size guide alongside body measurements. Where possible, compare a sample garment with an item the employee already wears comfortably. This is often the most reliable way to establish a suitable size, especially for repeat uniform programmes.
How to measure staff uniforms accurately
Measurements should be taken over light clothing, with the employee standing naturally and comfortably. Do not pull the tape measure tight. It should sit flat against the body without digging in, as staff need room to sit, reach, bend and work throughout the day.
A flexible tailoring tape measure is essential. Metal tape measures are unsuitable because they do not follow the body accurately. Record all measurements in centimetres, unless the supplier’s size guide specifically uses inches, and keep one consistent format across your order sheet.
Chest or bust
Measure around the fullest part of the chest or bust, keeping the tape level around the back. This is the main measurement for polos, T-shirts, fleeces, jackets, shirts, blouses and many tunics.
For workwear worn over other layers, allow for what staff will wear underneath. A fleece or softshell jacket intended for outdoor teams may need to accommodate a polo and sweatshirt. Choosing the exact chest measurement without allowing for layering can leave a garment restrictive when the weather turns.
Waist and hips
Measure the natural waist, usually the narrowest point of the torso, rather than the top of the trouser waistband unless the product guide says otherwise. For trousers, skirts and fitted dresses, hip measurement is equally relevant. Measure around the fullest part of the hips and seat.
If waist and hip measurements suggest different sizes, select according to the garment’s cut and the measurement that matters most for comfort. For example, trousers that fit the waist but are too tight through the hips will not be practical for active roles. A belt can adjust a slightly roomy waist more easily than a tight seat can be altered.
Inside leg
For trousers, measure from the crotch seam down to the desired hem position at the ankle. Employees should wear the footwear normally used for work if possible, particularly where safety boots are required. The right trouser length for office shoes may be too short when worn with work boots.
Many workwear ranges offer regular and long leg options, and some provide short lengths. Recording inside leg measurements at the start prevents staff rolling up hems, creating trip hazards or presenting an untidy appearance.
Collar and neck
For formal shirts, measure around the base of the neck where the collar sits. Place one finger between the tape and the neck to provide breathing room. A collar that is too tight is uncomfortable through a long day and can make branded businesswear feel less polished, no matter how good the embroidery looks.
Sleeve length
Sleeve measurement requirements vary by garment. For shirts, measure from the centre back of the neck, across the shoulder and down to the wrist with the arm slightly bent. For jackets and outerwear, a garment sample is often more useful, as shoulder shape and cuff design affect where the sleeve finishes.
Do not treat sleeve length as an afterthought. Short sleeves can make a uniform look ill-fitting, while overlong cuffs interfere with practical tasks and may be unsuitable around machinery or food preparation areas.
Build a process staff will actually follow
The best measurement method depends on the size and structure of your workforce. For a small office team, employees can measure themselves using clear instructions and a colleague to check accuracy. For larger, multi-site or customer-facing teams, an organised fitting session usually produces better results.
Ask employees to provide their normal clothing size as a useful reference, but do not rely on it alone. People often wear different sizes across brands, and some may choose a familiar size rather than one that genuinely fits. A short fitting appointment with sample garments gives staff the chance to test shoulder movement, sitting comfort and coverage before the main order is placed.
For a larger rollout, create a simple measurement record that includes the employee’s name, department, role, chosen garment, size, leg length and any approved alterations. Keep it securely and update it after exchanges or replacements. This becomes a valuable ordering record when staff move departments or replacements are needed months later.
Factor in role, movement and safety
A uniform should fit the job as well as the person. Smart businesswear may prioritise a clean silhouette, but industrial and hospitality clothing must also allow for repeated movement, heat, layering and safety requirements.
A front-of-house employee may spend much of the day standing and greeting customers, while a facilities team member may kneel, lift, climb steps and work outdoors. Encourage staff to test the movements their role demands when trying samples: raising both arms, sitting down, bending, reaching forward and walking at a normal pace.
For hi-vis garments, visibility should not be compromised by a fit that is too tight, too short or hidden beneath unsuitable layers. For healthcare and beauty teams, tunics and trousers should allow comfortable movement without appearing oversized. Food service teams need sleeves and hems that remain practical during preparation and service.
There is a balance to strike. Ordering generously oversized garments may reduce initial complaints about tightness, but it can undermine presentation and create safety issues. Ordering close-fitting garments may look smart at first, but can increase exchanges and reduce wearability. The right choice depends on the role, fabric stretch and whether the item is worn alone or layered.
Use samples before committing to a bulk order
Bulk buying can improve value and keep branding consistent, but it is worth confirming sizes first. Samples allow decision-makers to check the fabric, colour, cut and logo position as well as fit. They also reveal whether a garment behaves as expected after sitting, moving or being worn over a full shift.
Where several garment styles are being considered, do not assume staff will take the same size in each one. Someone may be a medium in a relaxed-fit polo but need a large in a fitted shirt. Record the size by product rather than assigning one universal uniform size to each employee.
This is particularly helpful when adding embroidery or vinyl logos. Personalised garments are normally harder to return, so fit approval should happen before branding is applied. A careful sample stage protects both the order budget and the employee experience.
Avoid the common causes of sizing errors
Most uniform sizing problems come from rushed data collection rather than unusual body shapes. Avoid estimating measurements, using old supplier size charts or measuring over bulky jumpers. It is also sensible to check whether a size guide refers to body measurements or finished garment measurements, as the difference can be significant.
Do not assume all staff want the same fit. Some may prefer a slightly roomier option for physical work, while others may need a tailored cut for customer-facing roles. Offering approved garment choices within a consistent colour palette and branding standard can improve comfort without weakening your visual identity.
Finally, plan for change. New starters, maternity requirements, changing seasonal layers and normal garment wear all create ongoing uniform needs. A managed record of approved styles and individual sizes turns future orders from a time-consuming exercise into a straightforward replenishment task.
Make uniform ordering easier after the first fit
Once measurements and garment choices are confirmed, standardise the information by role and department. This gives procurement teams a clear specification and helps managers order consistently across locations. It also reduces the risk of one site choosing a different shade, fit or logo treatment from another.
Select Branding Solutions can support this process with garment choice, on-site measuring, personalisation and managed ordering options, helping businesses keep staff presentation consistent as teams grow. The strongest uniform programme is not simply one that looks good on day one; it is one that remains easy to order, comfortable to wear and recognisably yours with every replacement garment.